CSA Week #6
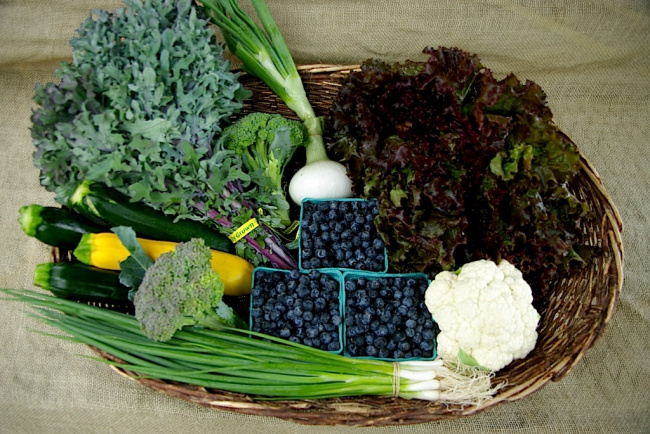
- Blueberries
- Zucchini
- Sweet onion
- Green onions
- Kale
- Cauliflower
- Lettuce
- Broccoli (Tuesday/Wednesday delivery only)
What a surprise to wake up to the sounds and smells of rain! It is so refreshing to have a few days like this in the middle of the heat wave of summer. The energy on the farm feels calmer with the cloud cover, although they are calling for a hot afternoon ahead!
The summer crops are starting to trickle in and you might find some of these warm-weather loving veggie surprises in your box this week.
You will notice on the list that only the Tuesday delivery sites will be getting broccoli this week. I thought I would explain how a harvest like broccoli happens here at the farm to give you a better idea how we divide your vegetables.
When a planting starts to ripen we have to harvest what is ready, sometimes it is the whole planting at once, while other times the plants ripen at different speeds depending on the weather, placement in the fields, etc.
We harvested the broccoli last week on Tuesday and had enough for everyone to have half a pound, but when they went out to the field on Thursday, they harvested so much that the Friday deliveries were able to get over a pound. So yesterday when they harvested, they harvested the last of the planting, so all the Tuesday deliveries can get caught up on their broccoli share, and there will be more on the way!
This is the harvest dance that Jabrila manages every week during the season, and we keep really good records of everything each delivery site has received, so that all will be divided equally.
 Veggie Storage and Preparation Tips:
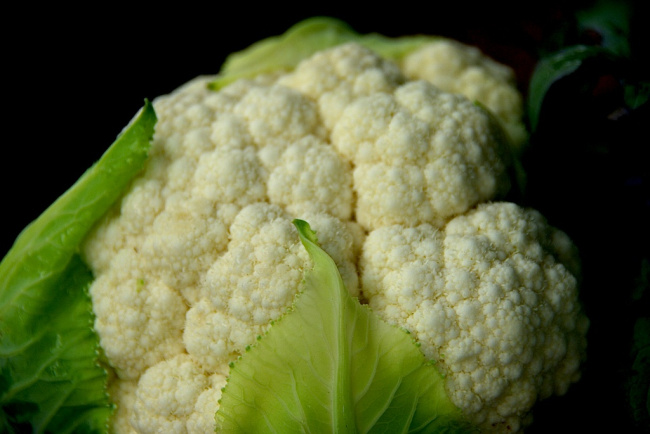
CAULIFLOWER
Cauliflower is best eaten soon after it is harvested but will keep for 1-2 weeks in the refrigerator if wrapped loosely in plastic. Remove the outer leaves, rinse, and trim off any blemishes or brown spots.
To cook florets, steam for 15-20 minutes; to cook the whole head, remove the core and steam for 15-20 minutes. (Overcooking will result in a strong odor and flavor)
Stir-fry florets with other veggies, add to Indian or Asian curries, top steamed heads with lemon and butter or Parmesan cheese, or serve raw with dip.
Recipes:
Cauliflower With Curry Sauce
From Moosewood Restaurant Low-Fat Favorites
- 1 small cauliflower, cut into florets (about 3 cups)
- 1 cup chopped onions
- 1 teaspoon canola or other vegetable oil
- 1 teaspoon ground cumin
- ½ teaspoon ground coriander
- ½ teaspoon turmeric
- pinch of cayenne, or more to taste
- 1 cup nonfat yogurt
- Salt and ground black pepper to taste
Steam the cauliflower for 15 to 20 minutes, or until tender.
While the cauliflower cooks, sauté the onions in the oil in a small skillet until golden, drizzling in a little water if necessary to prevent sticking. Add the cumin, coriander, turmeric, and cayenne and cook, stirring often, for another 2 minutes. Transfer to a blender or food processor, add the yogurt, and puree until smooth. Add salt and pepper to taste.
When the cauliflower is ready, remove it to a serving bowl, pour on the curried yogurt sauce, toss gently and serve.
Cauliflower Broccoli Salad with Apples and Raisins
From: From Asparagus to Zucchini: A Guide to Cooking Farm-Fresh Seasonal Produce
- 1 cup mayonnaise (or Vegenaise)
- ¼ cup sugar
- 2 tablespoons vinegar
- 3 cups chopped cauliflower
- 3 cups chopped broccoli
- ½ cup raisins
- ¼ cup finely chopped red onion (or sweet onion)
- 1 apple, unpeeled, diced
- 2 tablespoons soy bacon bits (or real)
- salt and pepper to taste
Mix first 3 ingredients. Stir remaining ingredients. Serve chilled. Makes 6-8 servings.
Easy Kale and Tomatoes
Also from: From Asparagus to Zucchini: A Guide to Cooking Farm-Fresh Seasonal Produce
- 1 Large bunch kale, stems removed and leaves coarsely chopped
- 1 large tomato, chopped
- 1 large onion, chopped
- water or tomato juice
- olive oil
- salt and pepper
Place kale, tomatoes, and onions in pot with just enough water or tomato juice to keep them from burning while it cooks. Cook over medium heat until kale is tender, about 20 minutes. Add a little olive oil, plus salt and pepper to taste before serving.
 This week’s feature story is about our compost system here at Winter Green Farm…
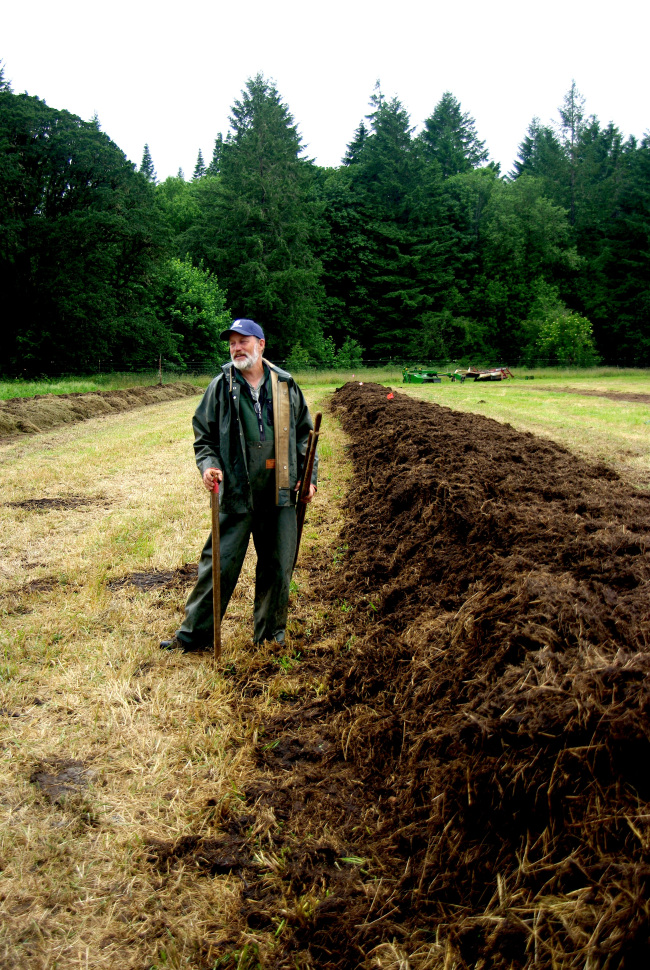 Winter Green Farm is made up of some people who have previous farming experience as well as others who are just beginning their journey in agriculture. The owners have always felt a responsibility in making sure that our crew is able to learn as much as they can during their time here, and are very generous with their farming expertise and their depth of agricultural knowledge.
The farm is made up of so many different parts, some quite complex, and it takes years to even begin to understand all that goes into growing this food. To better understand the big picture, and all the different areas of the farm, the owners lead after-hours talks on the aspects of the farm that they focus on. The most recent of these talks was about compost and specifically our composting system at Winter Green Farm. Wali Via led the talk, as he is the compost guru here at the farm and has been for almost 30 years! He makes some mighty fine compost, as you can attest from the quality of the vegetables in your box each week!
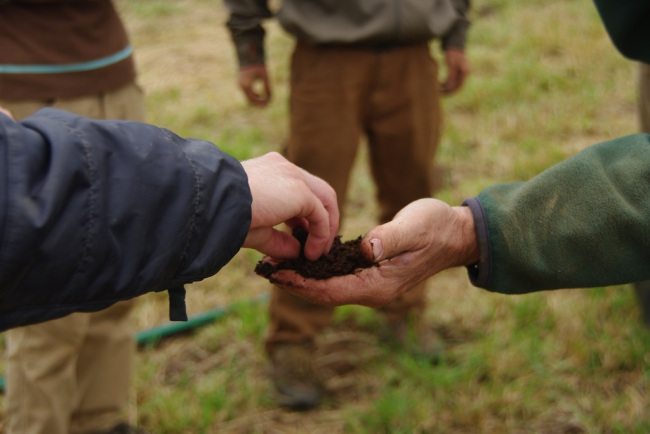 Tyson Davies took some of these photos and a few notes, so I will be able to give you a glimpse into the compost system here at Winter Green Farm.
Compost is the center of our fertility plan, along with crop rotation, pasturage of our grazing stock, and cover cropping. Compost is integral in maintaining good soil health at the farm. Compost returns nutrients and organic matter back to the soil, which increases the soil’s ability to hold water and air.
On a hayride at the farm’s open house this spring, Wali stopped the wagon at a compost pile and ran to get a handful of compost to share with everyone. Although he has done this on countless hayrides and fieldtrips throughout the years, his face still lights up when he talks about compost, and instills wonder in everyone when he shares that there are billions of organisms in his hand at that moment.
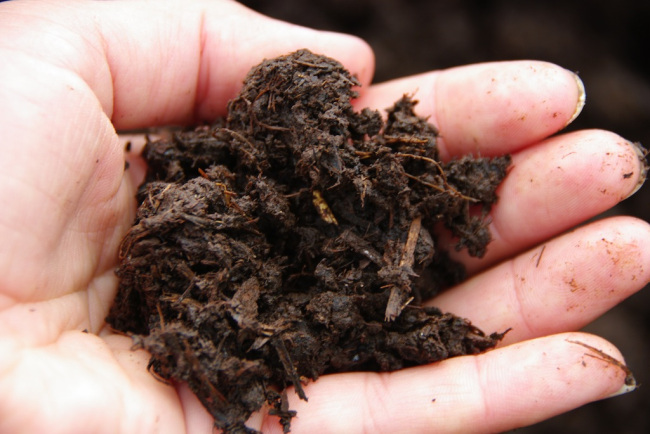
As he passed the dark, earthy, crumbly compost sample around, I remember him saying why compost is so important to soil health as opposed to the farms that use a lot of fertilizer inputs, (both conventional or organic). Compost provides the plants with all the nutrients they need, and they are able to use these nutrients, as they need them. I remember Wali likened this process to a nutrient “buffet”. This is in stark comparison to chemically fertilized farms where plants are force-fed fertilizers that create an imbalance in their natural growing cycle.
 Here at Winter Green Farm we compost using Biodynamic methods. These methods, inspired by lectures given by Rudolf Steiner in 1924, include the application of several herbal preparations to aid and enhance the compost pile. As part of the after-hours compost session, those that attended treated the 2013 compost piles with these preparations.
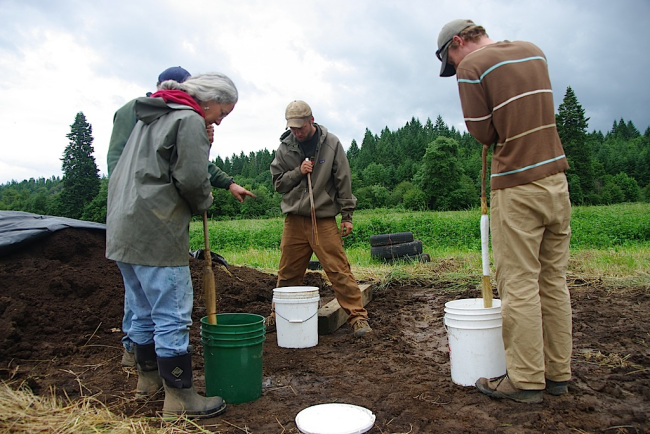 I won’t go into extensive detail about the preparations, but if you are interested in learning more about Biodynamic farming, you can go here or here, or even here.
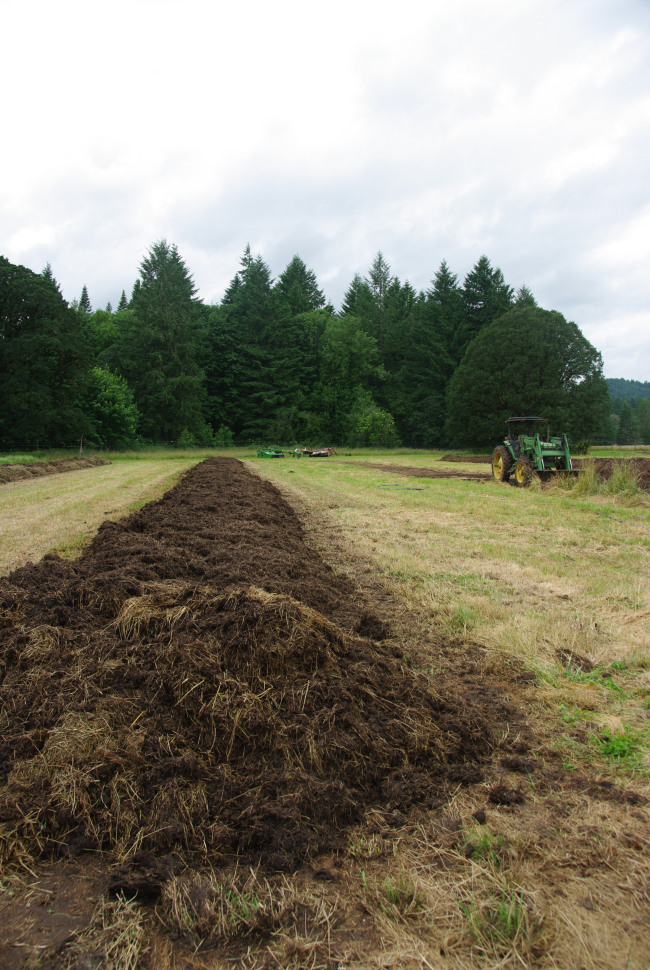
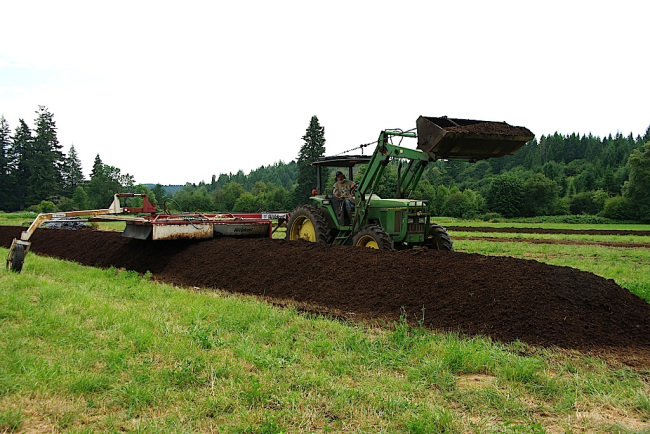
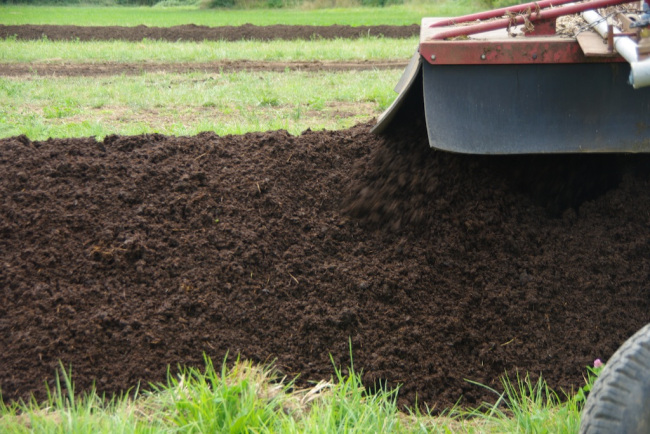
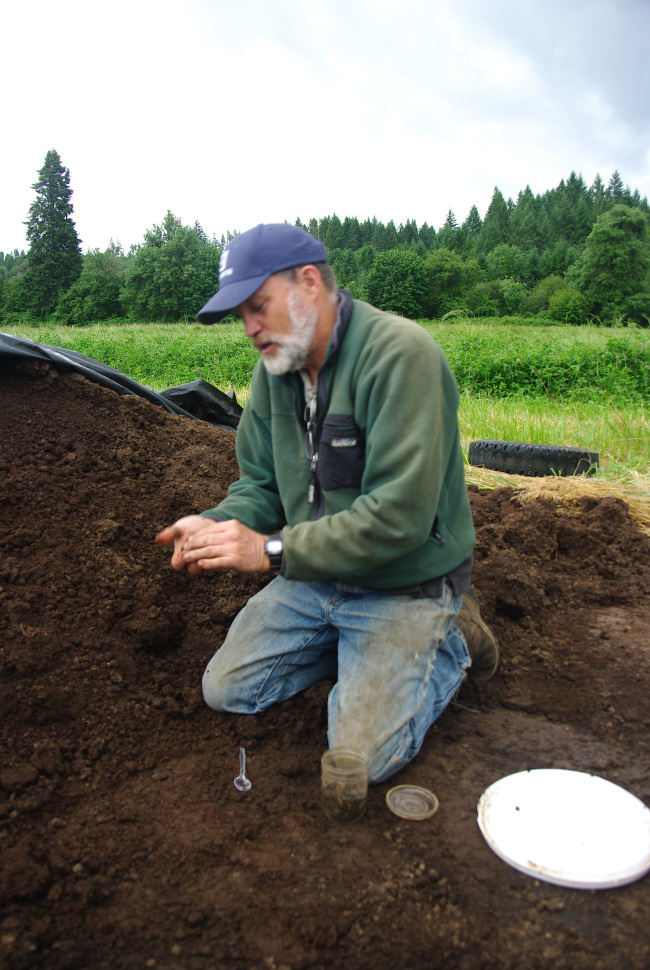 We make the compost in late spring by first collecting manure from our cattle herd. The cows spend a few months during the winter in the barn, where we bed them down twice a week with straw. In the spring we scoop out the straw/manure mixture and combine this with green chop. Green chop is grass that we cut in the morning with as much dew as possible to provide the compost ingredients with proper moisture. If the mixture is too dry, the temperature will get too high. We strive for temperatures at 140-145˚ F. The mixture is laid out in long windrows that are 9’ at the base and no more than 5’ high. The piles are then turned five times in a fifteen-day period to meet current organic standards. The piles are turned with a compost turner, check out Wali’s video on YouTube here for a first hand account of this!
The compost will continue to work it’s decomposing magic throughout the summer. Wali will check the piles at least two times a week. He checks their temperature, the feel and smell, moisture content, and gives an overall visual assessment of the piles. He wants the piles to be hot enough to sterilize weed seeds and kill pathogens, but not too hot as to kill the beneficial bacteria that are needed to break down the organic matter. He wants the feel of the compost to be that of a wrung out sponge, not soggy, but not too dry, and the smell to be rich and earthy.
We will cover the piles in the winter with tarps to prevent nitrogen run-off from the rain. In the spring, the compost will be ready. It is then loaded into a manure spreader and applied to the fields to be tilled into the soil. We apply ten tons of compost per acre of cultivated field.
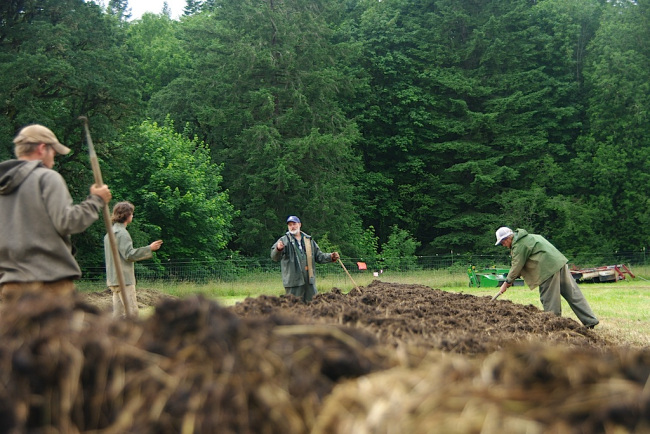 There are so many factors that contribute to making a successful compost pile. There are many variables based on the ingredients that go into the piles, and some years make better compost than others. Wali has kept extensive records over the years and continues to strive for perfection in the compost realm of the farm.
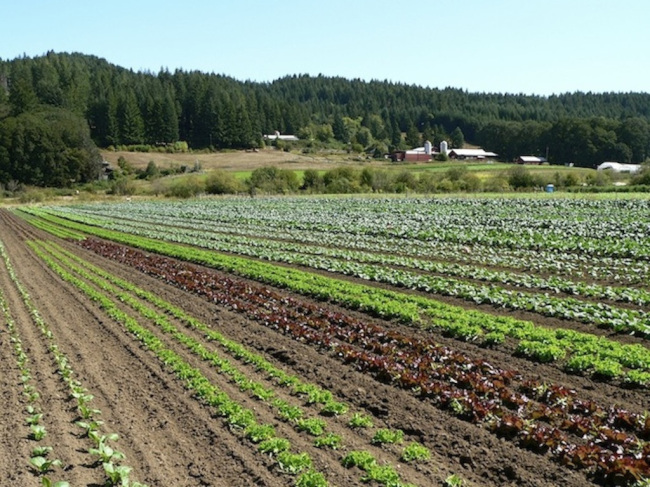
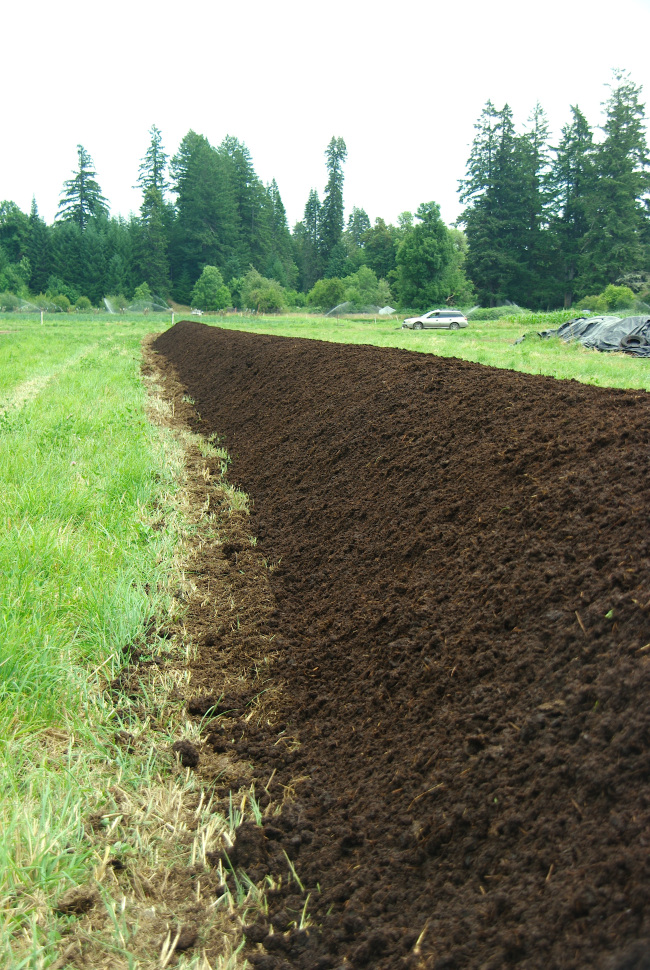 When I walk through the fields I feel it is apparent that the soil is healthy. The plants are strong, with dark green leaves, thick stems, standing upright in the summer sun. Of course we have our challenges, as do all farms, but the thirty years of continual addition of compost and thoughtful fertility management shows. Working in the greenhouse we always try to give the plants the best start possible, but we always heave a sigh of relief when they are all transplanted into the fields, knowing that our “babies” will be well taken care of. The plants grow to be vibrant vegetables before our eyes, and the cycle of life at the farm continues.
 May you all have a wonderful week and enjoy many delicious meals made from the vegetables in your box!
-Sara Davies
